How To Make A Hand Splint
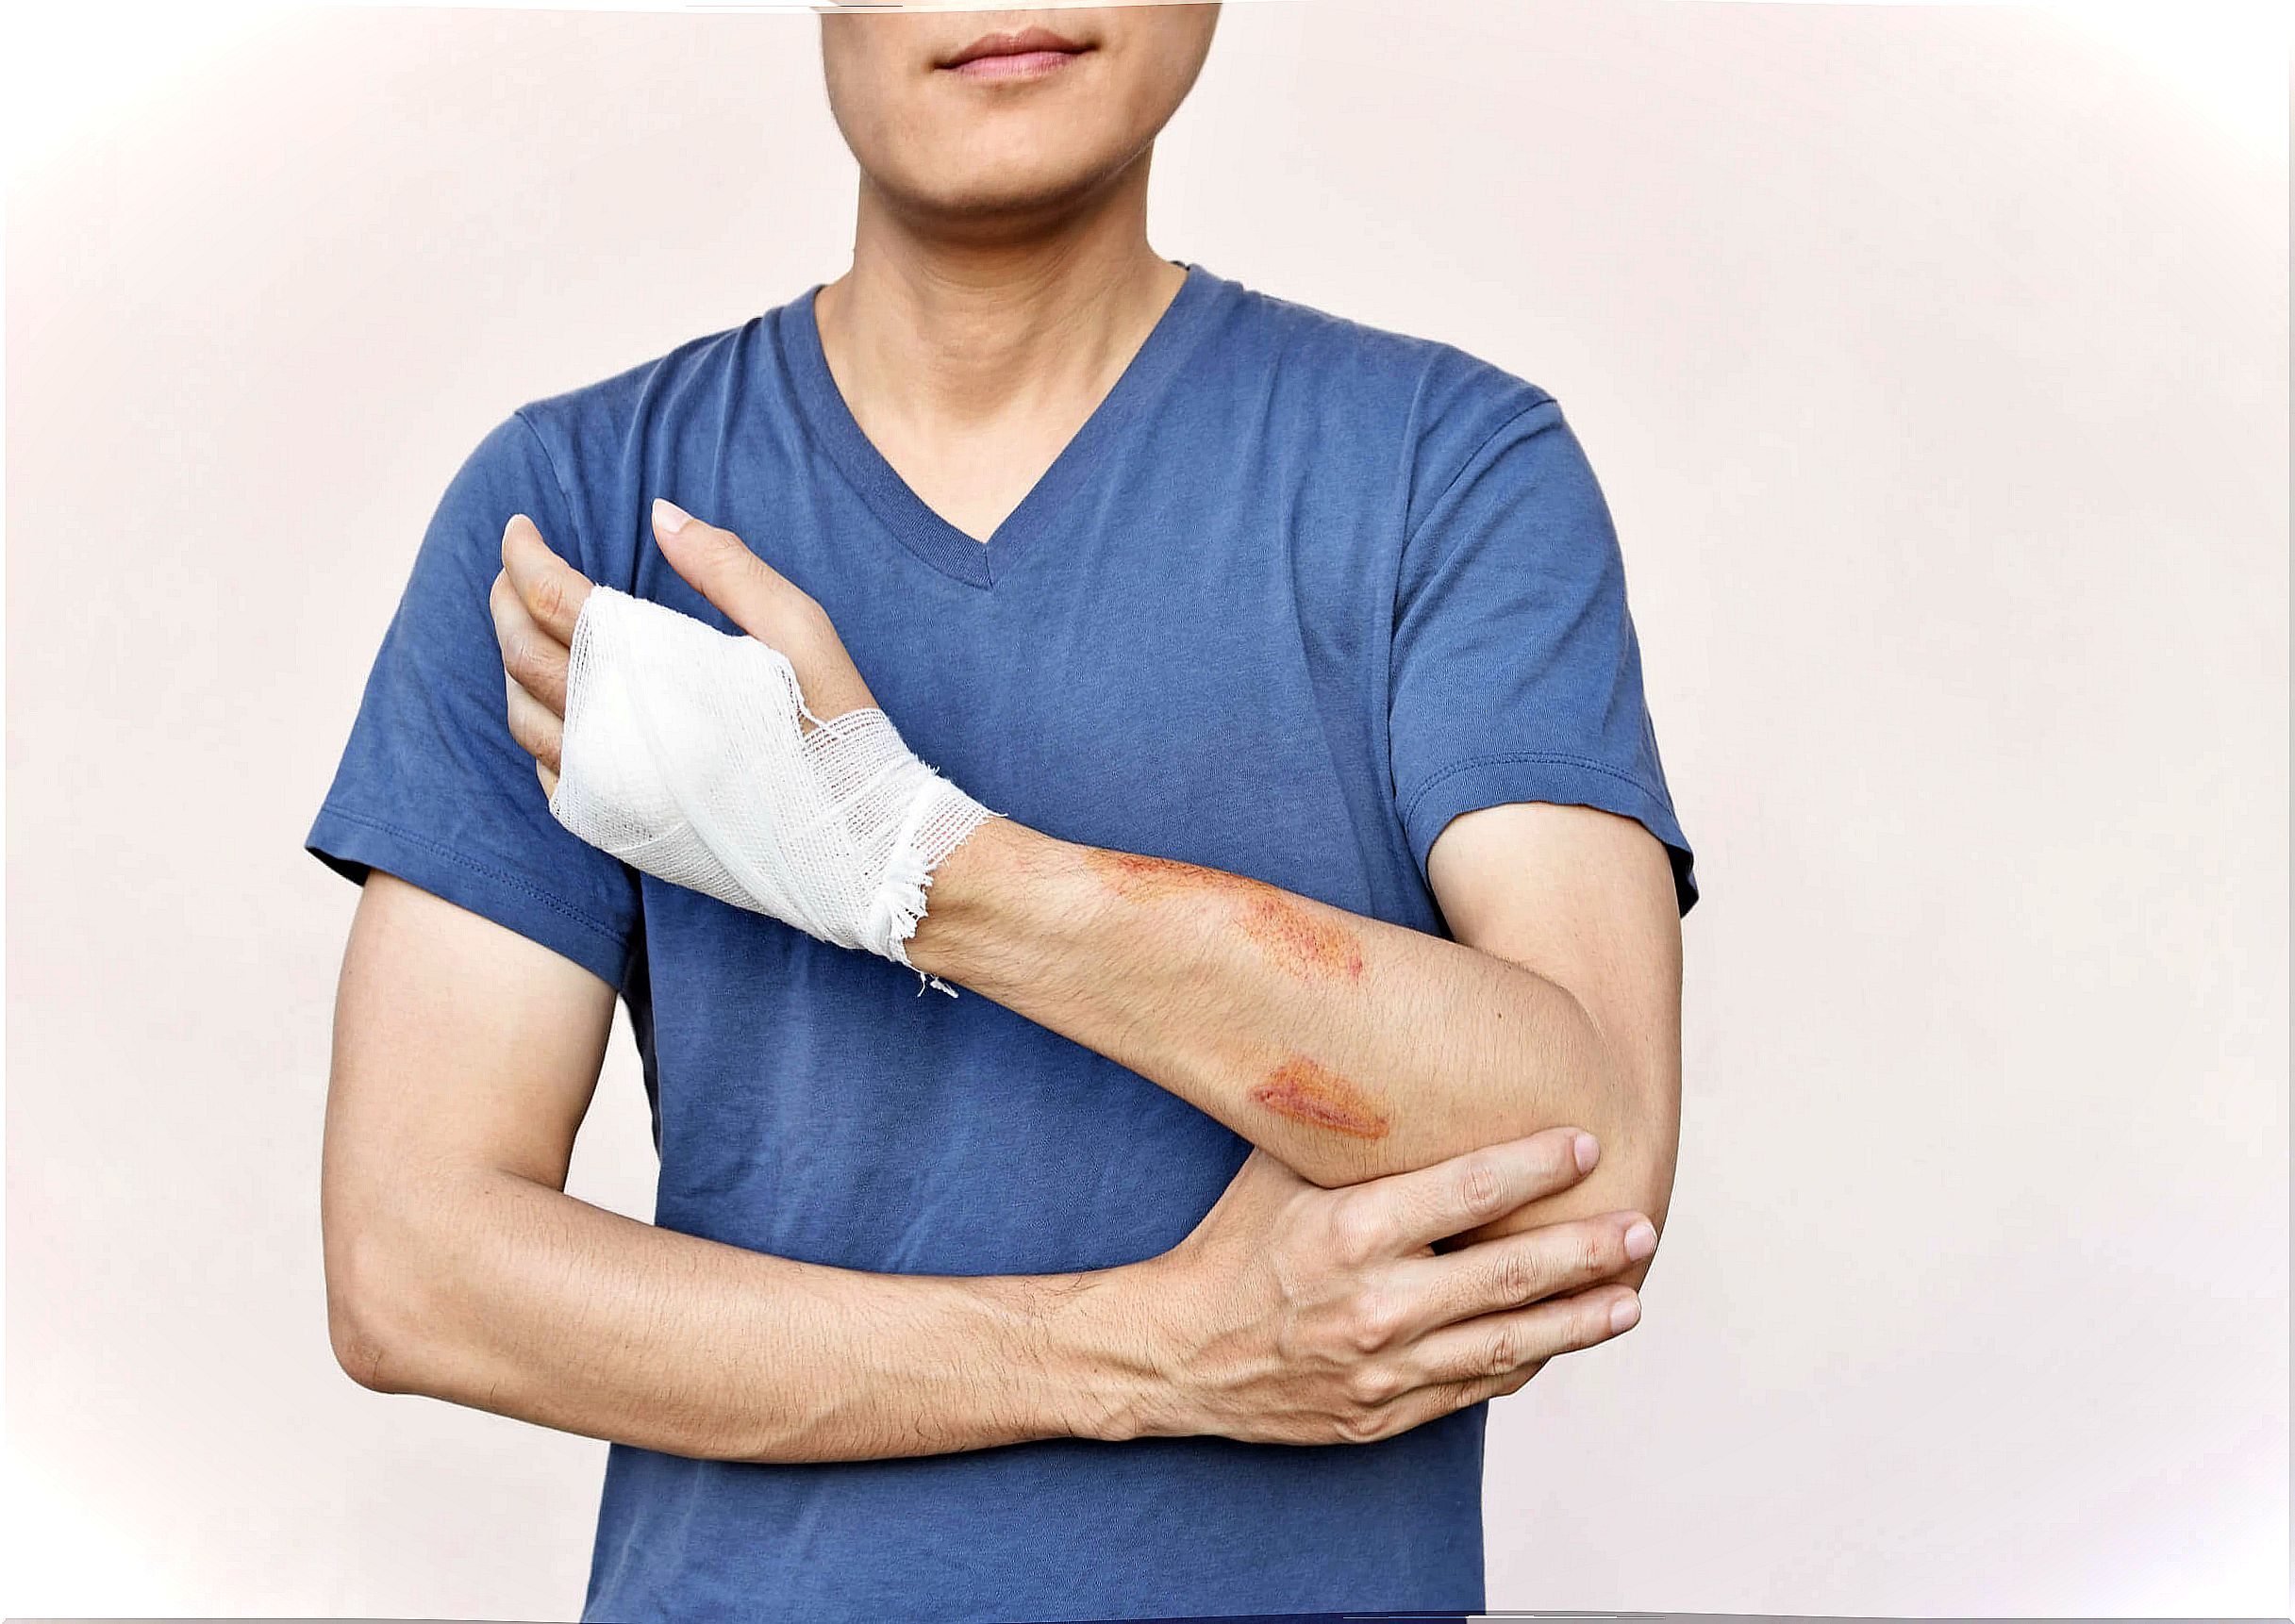
Making a homemade hand splint can be of great help in the event of an accident or injury. It is a simple first aid procedure that prevents further damage and relieves pain for the affected person.

The hand splint is an external orthopedic device. It is installed when there is an injury or when it is necessary to modify some functional or structural aspect of the neuromusculoskeletal system of the hand.
In most cases, the hand splint is used to stabilize or immobilize this limb after injury. When applied, the risk of the area moving and further damage is avoided. This also helps relieve pain.
What is a splint used for?

The hand splint has many applications. First, it can be used as an emergency measure in case of injury. In turn, physiotherapists often use it for different purposes.
These devices serve the role of providing support, limiting movement, and holding the hand or wrist in a certain position. Among many other applications, the hand splint is used in the following cases:
- Fracture or sprain.
- To treat stiffness.
- To facilitate movement when there is a motor deficit.
- Treat any rheumatic or arthritic pathology.
- In case of tendinitis.
- Prevent any dysfunction.
- Others.
How to make a hand splint
In an emergency, particularly a suspected fracture, it is appropriate to make a splint for the hand at home. This will help reduce risks while the affected person is transferred to a medical facility. It only takes a few basics and taking certain steps, as outlined by the US National Library of Medicine.
Materials
The essential purpose of an emergency hand splint is to immobilize the area. Therefore, it is necessary to use rigid materials that provide stability. You will need the following:
- A cotton or textile filling.
- A tennis ball or a ball-shaped textile.
- A piece of cloth, gauze, or bandage.
- A medium board or plank.
- An element to hold the splint. It can be a lanyard, belt, or medical tape.
It is important that the stick or board is wrapped in a padding cloth, especially if there is a risk of splinters coming off. This also helps relieve pressure on the wound.
Step by Step
The hand is an area that presents certain difficulties when immobilizing it, so it is very important that you be careful. Having said that, you must carry out the following steps:
- Control bleeding, if any.
- Place an object in the palm of the hand. It should be a spherical object, such as a tennis ball, a ball made from socks, etc. Ask the person to wrap their hand around the object, without squeezing it.
- Application of the filler. When the affected person’s fingers are on the object, insert a loose padding between them.
- Splint the hand. This is optional, according to the need for it. It consists of putting your hand against the board or plank and then wrapping it in the next step.
- Wrap the hand. Take a piece of cloth or gauze and wrap the entire hand, from the fingertips to the wrist and from the thumb to the little finger. If you are using a board, wrap it up with the ends sticking out.
- Assurance. Once the previous step is completed, secure the bandage with twine, tape or something that keeps it fixed. Exposes the fingertips, as this allows you to see if there are any circulation problems.
- Seek help. Once the splint is in place, the next step is to seek medical help as soon as possible.
Another way to make a splint

Another possibility is to make a splint for the hand with a plaster bandage. If you have the necessary elements, it can be very adequate, especially if the medical center is very distant, or there may be delays in the transfer.
Materials
You will require the following materials:
- Tubular bandage. It is a mesh sleeve in the shape of a tube. It is used as a base layer or as a support for dressings.
- Cotton bandage. It is the classic bandage.
- Plaster bandage. It is a gauze bandage impregnated with plaster of Paris, which has the property of hardening.
- Crepe bandage. It is an elastic compression bandage; has a high permeability framework that makes it more breathable and prevents injuries to the skin of the bandaged part
- Adhesive tape. The best thing is that it is made of breathable paper.
- Scissors. It is important that they cut well.
- Bucket of warm water.
Step by Step
If you have all the materials, the procedure to follow is this:
- Put on the tubular bandage. This is wrapped over the affected area, leaving a surplus. This will be required to fold it over the cast.
- Apply the cotton bandage. Its function is to protect and cushion the wound. Also, it prevents the appearance of lesions on healthy skin.
- Calculate the length of the splint. You must calculate how much plaster bandage you will need to make the splint. In children you will need six to eight folds; in adults, 12 to 15 layers.
- Dip the plaster bandage in the water. Put it in the water and wait three to four seconds. Then, take it out and stretch it, removing the excess water with your fingers.
- Put on the plaster bandage. You should only put the plaster bandage on the affected area and mold it with the palms of your hands, not with your fingers.
- Polish the splint. Trim off any excess plaster and adjust gently.
- Put on the crepe bandage. To finish, you must put the crepe bandage, without overdoing the pressure.
After bandaging the area, visit the doctor
The most important thing is to ensure that the hand splint does not interrupt or obstruct circulation. Therefore, you should monitor the affected area and if you notice that the skin is pale or bluish, or is particularly inflamed, you should reduce the compression.
If the affected person indicates that the splint is causing pain, it must also be loosened. If discomfort persists when doing so, it is best to remove the splint. In any case, it is essential to seek medical help as soon as possible.


